
Beekeeping knowledge
Wintering bees correctly: the checklist for healthy colonies
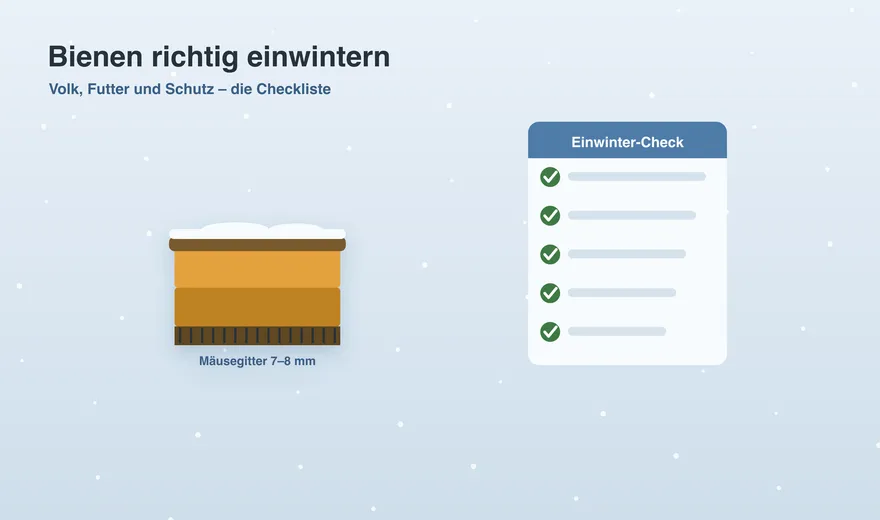
Winter is decided in late summer. Whoever sets the course right now – strong colony, enough feed, little varroa and good protection – brings their bees safely through the cold half of the year. Here is the complete checklist.
"It all comes down to wintering" – hardly any beekeeping saying is truer. Whether your colonies start strong in spring or do not make it at all is decided in late summer. You need to have four points under control: a strong colony, enough feed, a low varroa load and protection from unwanted guests. We go through the checklist in turn.
1. A strong, healthy colony
Only what is strong enough goes into winter. A weak colony cannot warm the winter cluster sufficiently and easily dies. Check colony strength in late summer: depending on the number of bees, a colony winters in one or two boxes. Very weak colonies are better united in good time with a stronger one than wintered on the off-chance. Also important are healthy, young winter bees – and they only form in a low-varroa colony. That brings us to the next point.
2. Getting varroa under control
The varroa mite is the most common cause of winter losses. The summer treatment after extraction is therefore a must, and the final step is the residual treatment in the broodless state in late autumn or winter. Only a colony with a low mite load forms the healthy, long-lived winter bees that carry it into spring. Check the treatment success with the mite board.
3. Enough feed – and checking
As a guide, a colony needs around 15 kg (single-box) to 18–20 kg (double-box) of winter feed. The main feeding takes place in August; it should be finished by mid-September at the latest. Check in autumn with the tilt test whether the weight is right, and take a look at the feed rim. Feed that is too tight is life-threatening in late winter – then only fondant helps as an emergency ration.
4. Protection from mice, wasps and moisture
As soon as the bees fly less, the dangers come from outside:
- Mouse guard: fit a mouse guard at the entrance in late summer/autumn. The opening should be no larger than 7–8 mm so that even small shrews stay out. Remove it again in spring.
- Narrow the entrance: a smaller entrance is easier to defend against wasps and robbers and keeps out draughts.
- Leave standing dry and calm: ensure a dry site and good ventilation so no moisture forms. And then, above all, one thing: calm. Do not disturb the winter cluster unnecessarily – every opening costs the bees valuable warmth and energy.
Wintering in brief
Strong colony, varroa down, feed up, protection on – if these four points are right, you have done the most important thing. Best to tick them off colony by colony and note feed amount and treatment. That way you go into winter with peace of mind and know exactly where to look in spring.
Document inspections without thinking about it
Record date, product, amount and the treated colonies right at the apiary. The basis for your treatment records builds itself as you go.
Start for freeFrequently Asked Questions
How strong must a colony be for wintering?
It must be strong enough to warm the winter cluster. Very weak colonies are better not wintered individually, but united in good time with a stronger colony.
What mesh size does the mouse guard need?
The opening should be no larger than 7–8 mm so that even small shrews cannot get into the hive. In spring the guard is removed again.
How much feed does a colony need for winter?
As a guide, around 15 kg single-box and 18–20 kg double-box. Feeding should be finished by mid-September at the latest.
 Organic cotton beekeeper T-shirt “The Dance Language”